
You’ve decided to update your bathroom — new light fixture, fresh paint, maybe a modern LED mirror to replace that dated builder-grade slab. Then you try to take the old mirror down and realize there are no clips, no screws, nothing to unscrew. It’s just… stuck. Glued directly to the wall, likely by whoever built the house decades ago. The good news: removing a mirror glued to the wall is a manageable DIY job. It just takes the right tools, a bit of patience, and knowing what you’re actually dealing with before you start prying.
Why Are Mirrors Glued to the Wall in the First Place?
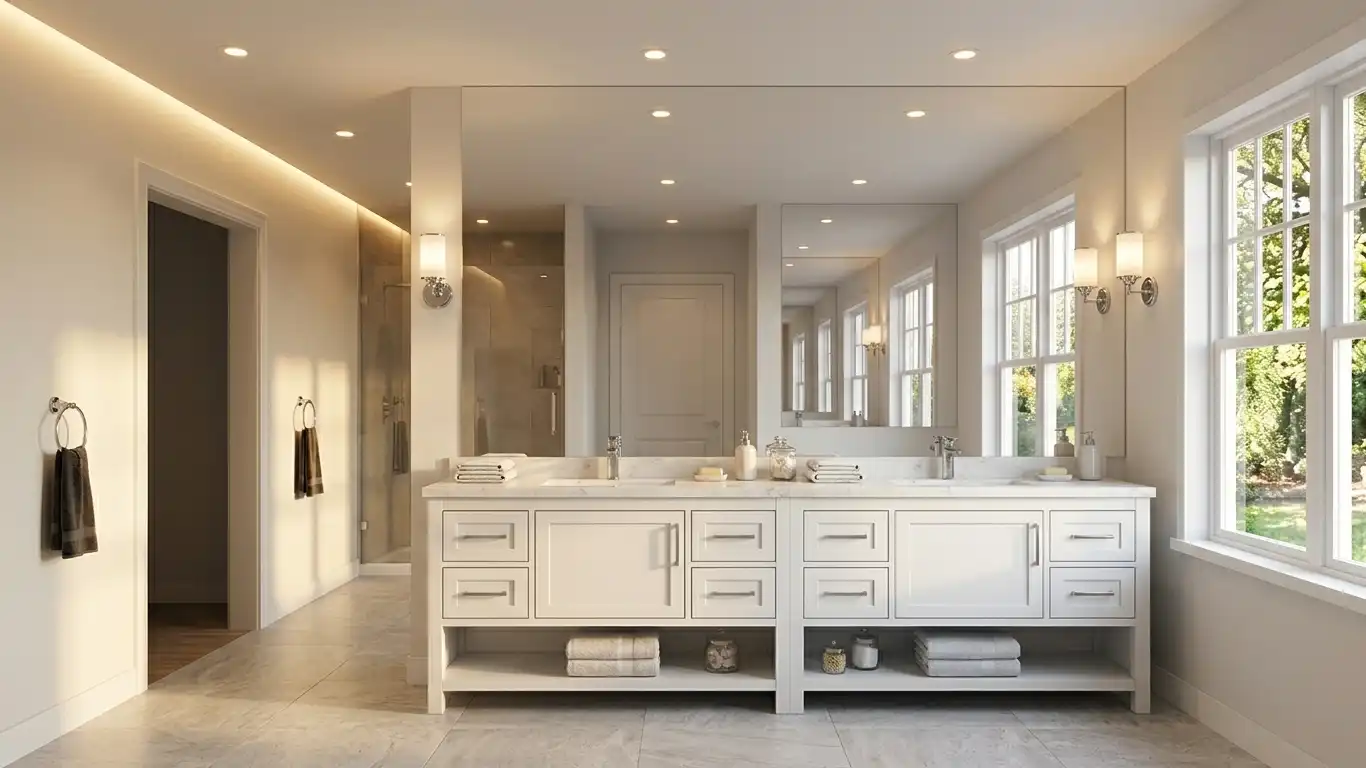
Before the 1990s, gluing large mirrors directly to drywall was common practice in new construction. It’s fast, it’s cheap, and it creates a clean look with no visible hardware. Builders favored it especially for full-width bathroom mirrors — the kind that runs the entire length of a vanity.
The adhesive bonds the glass directly to the painted drywall surface, which means the mirror becomes structurally part of the wall over time. That’s what makes removal tricky: you’re not just lifting something off a hook. You’re separating two surfaces that have been fused together, sometimes for 20–40 years.
Understanding this helps set the right expectations. The wall will likely need some repair afterward. The mirror may or may not survive intact. Planning for both outcomes makes the whole process smoother.
Types of Adhesive Used on Wall Mirrors
The type of adhesive affects how hard the mirror is to remove — and which method works best. Most builder-installed mirrors use one of these:
| Adhesive Type | Appearance | Removal Difficulty | Best Removal Method |
|---|---|---|---|
| Mirror mastic (black) | Black rubbery blobs | High | Heat + wire saw |
| Construction adhesive | Tan/brown, firm | High | Heat + pry knife |
| Silicone adhesive | Clear or white, flexible | Medium | Wire saw or scoring |
| Double-sided foam tape | Foam strips at edges | Low | Putty knife + solvent |
If you can see behind one edge of the mirror (use a flashlight), you can often spot what’s holding it. Black rubbery blobs are mirror mastic — the most aggressive type. Clear or white flexible material is silicone. Tan or beige firm material is construction adhesive.
Knowing this upfront saves you from choosing a method that won’t work.
Safety Precautions Before You Start
A large bathroom mirror can weigh 15–30 kg depending on size. Glass breaks unpredictably under stress. Take the safety part seriously — not as a formality, but because the risk is real.
Personal protective equipment (PPE) you need:
- Safety glasses or goggles — not optional. Glass fragments travel fast.
- Cut-resistant gloves — leather work gloves or anti-cut gloves rated for glass handling.
- Long sleeves and closed-toe shoes — glass shards fall downward and sideways.
Additional precautions:
- Never attempt a large mirror (over 60cm wide) solo. You need at least one other person to support the mirror as it loosens.
- Turn off any electrical outlets or switch plates near the mirror.
- Clear the vanity area completely — toiletries, soap dispensers, everything.
- Let anyone else in the house know you’re working with glass so they don’t walk in unexpectedly.
Tools and Materials You Will Need
Having everything ready before you start means you won’t be hunting for tools while holding a half-detached mirror.
Essential tools:
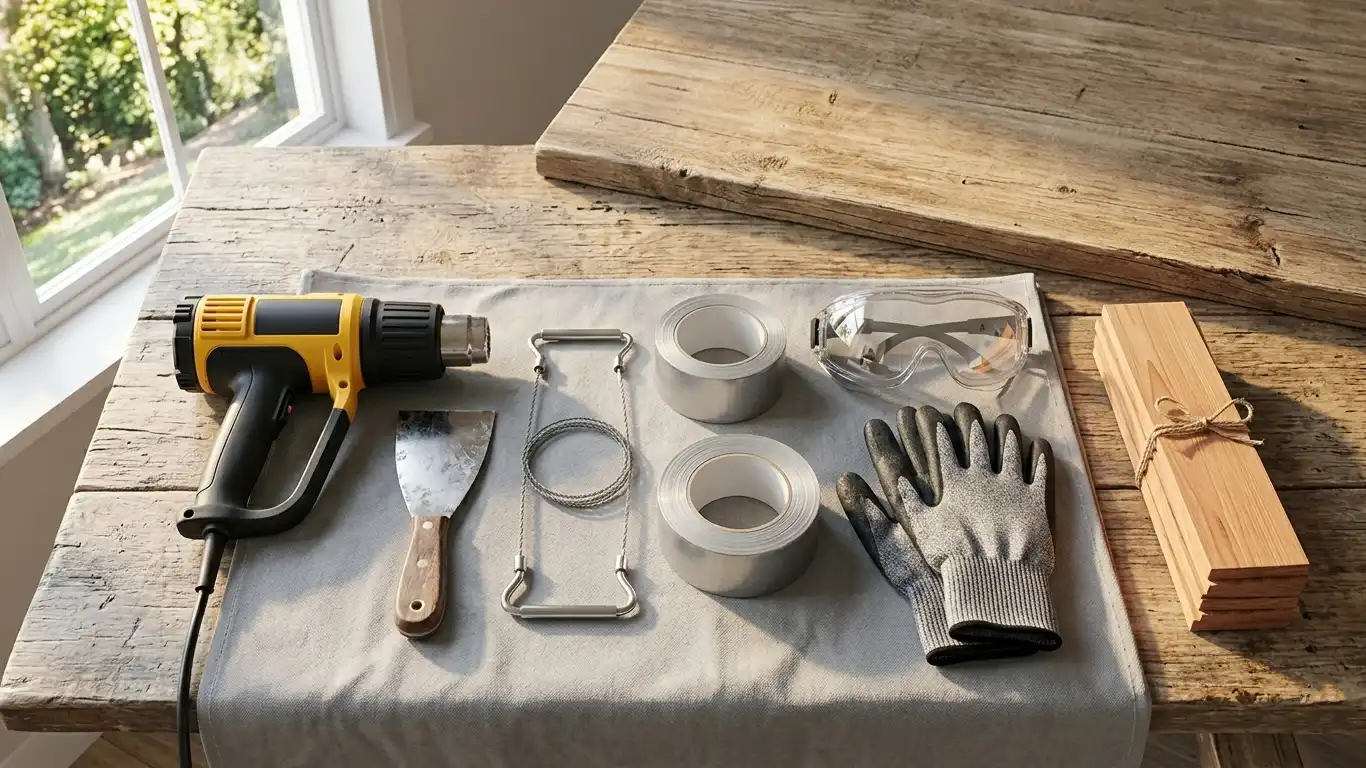
- Heat gun (preferred) or hair dryer
- Putty knife or drywall knife (3–6 inch)
- Wire saw / piano wire (long enough to span the mirror width)
- Drop cloth or heavy canvas sheet
- Wide masking tape or duct tape
- Safety glasses and gloves (as above)
Optional but helpful:
- Wooden shims and rubber mallet
- Suction cup handles (for safely gripping the mirror)
- Adhesive remover (WD-40, Goo Gone, or rubbing alcohol)
- Spackling compound and sandpaper (for wall repair after)
Preparing the Area Before Removal
A few minutes of prep work prevents a much bigger mess.
Step 1: Clear the vanity. Remove everything from the countertop — not just to protect it, but because you’ll need room to maneuver.
Step 2: Lay down the drop cloth. Place a heavy canvas or thick moving blanket on the floor and countertop directly below the mirror. This catches any glass fragments if the mirror cracks during removal.
Step 3: Tape the mirror surface. Apply strips of masking tape or duct tape across the mirror face in a grid pattern — horizontal and vertical strips every 15–20 cm. If the mirror breaks, the tape holds the shards together rather than letting them fly outward. This is the single most important prep step.
Step 4: Check for existing cracks. Run your hand lightly along the mirror surface. If you feel any existing cracks, treat the mirror as potentially unstable and increase your protective taping.
Step 5: Set up your ladder or step stool if the mirror is taller than you can comfortably reach. Stability matters when you’re applying force.
Step-by-Step Guide to Remove a Mirror Glued to the Wall
There are three practical methods. The heat-and-pry method is the safest and most widely recommended. The wire saw method works well for thinner adhesive layers. The break-and-remove method is the last resort.
Method 1: Heat and Pry (Recommended)
This is the go-to method for most builder-installed mirrors with construction adhesive or mirror mastic.
What you need: Heat gun (or hair dryer), 3–6 inch putty knife, drop cloth, tape on mirror.
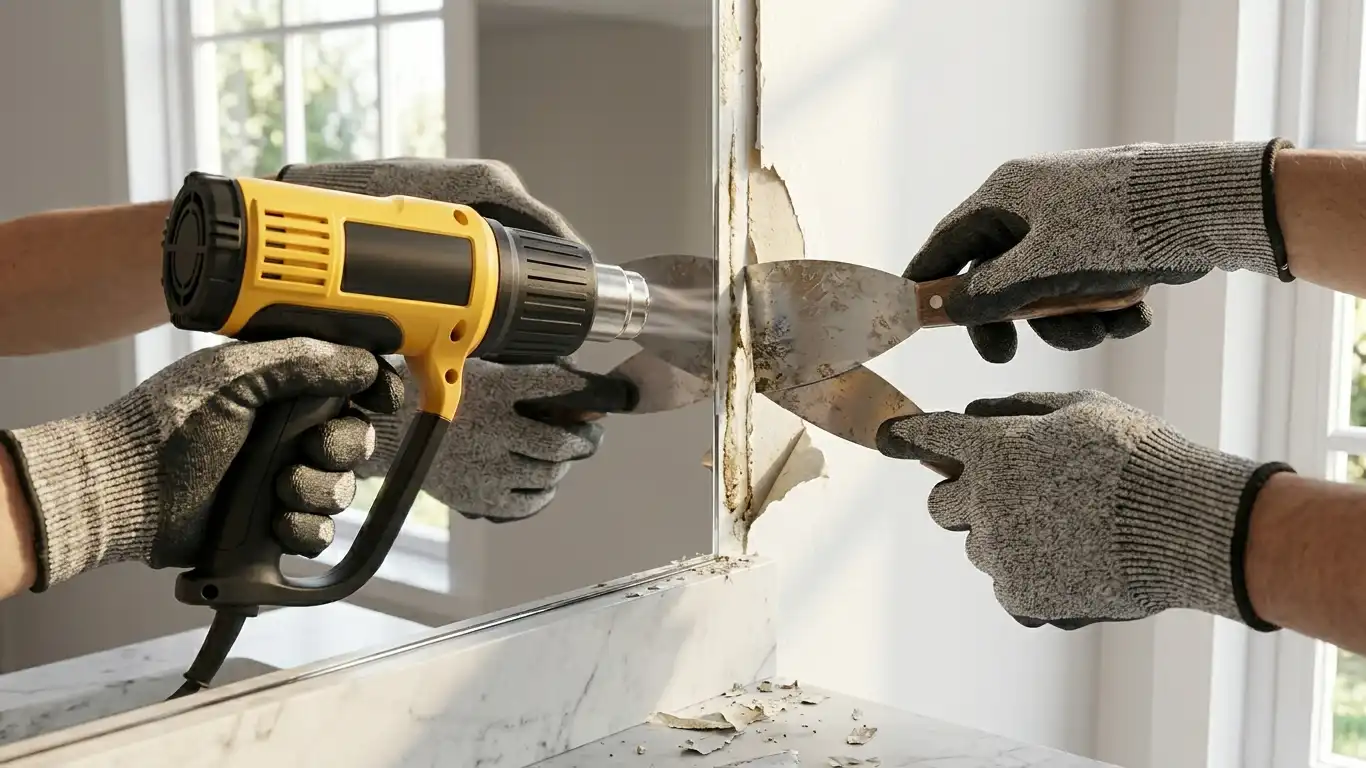
- Start at a corner. Position the heat gun about 5–8 cm from the mirror surface. Apply heat to a 15 cm section at the top corner for about 45–60 seconds.
- Test with the putty knife. While the area is still warm, try sliding the tip of the putty knife into the gap between the mirror back and the wall. Don’t force it — if there’s no give, apply more heat.
- Work slowly in sections. Once you feel the adhesive softening, gently lever the knife and move along the edge. Heat the next section, pry a little more. Keep repeating.
- Have your helper hold the mirror. As the mirror starts to separate, your helper keeps hands on the mirror face to control its movement. It should never hang free.
- Lower it onto the countertop or drop cloth. Once fully separated, carefully lower the mirror flat — don’t lean it against the wall unsupported.
⚠️ Note: If you’re using a heat gun on a mirror with tape applied, the tape adhesive may melt. That’s fine — the tape will still hold the glass structure together even if it gets tacky.
Method 2: Wire Saw
Best for mirrors with silicone adhesive or thinner glue lines.
What you need: Wire saw or strong piano wire (at least 60 cm longer than mirror width), two handles or wooden dowels to grip.
- Thread the wire behind the mirror from one side — work it in from a corner where there’s the most gap.
- Each person grips one end of the wire, positioned on either side of the mirror.
- Pull with a sawing motion — left and right — while maintaining slight downward pressure.
- The wire cuts through the adhesive layer. Move down the mirror gradually.
- Stop frequently to wipe adhesive buildup off the wire with a rag.
This method is slow and physically demanding. The wire clogs with adhesive every few minutes. But it’s very effective for silicone, and it keeps the mirror intact.
Method 3: Break and Remove (Last Resort)
Use this only when you don’t need the mirror intact — for example, you already have a replacement ready, or the mirror is damaged.
What you need: Hammer, full-coverage tape on mirror face, heavy cardboard box underneath.
- Make sure the entire mirror face is covered with tape (multiple overlapping layers).
- Strike the mirror firmly with the hammer — aim for the center first, then work outward. You’re breaking it, not punching through the drywall.
- The taped shards should hold together in large sections.
- Use a putty knife to pry the remaining fragments off the wall.
- Collect all glass into a cardboard box immediately (see the cleanup section below).
⚠️ This method creates a significant amount of glass dust and fine fragments. Wear full PPE including a dust mask, and vacuum the area thoroughly after cleanup.
Removing Adhesive Residue from the Wall
Once the mirror is down, you’ll almost certainly have adhesive left on the wall. This needs to come off before you paint, tile, or hang a new mirror.
For soft or partially-melted residue:
- Use the putty knife to scrape off as much as possible while it’s still warm.
- Wipe with a rag.
For hardened residue:
- Apply WD-40, Goo Gone, or rubbing alcohol directly to the adhesive.
- Let it sit for 3–5 minutes.
- Scrape with a putty knife or plastic scraper.
- Wipe clean with a damp cloth.
- Repeat as needed for stubborn spots.
For very heavy mastic blobs:
- Use a heat gun to re-soften, then scrape immediately.
- Follow up with solvent for residue.
⚠️ Always test your solvent in an inconspicuous spot first. Some solvents can lift paint or damage drywall paper.
After all adhesive is removed, sand the wall lightly to level any raised spots before applying new paint or adhesive.
Glass Cleanup After Breaking
If the mirror broke during removal — intentionally or not — glass cleanup needs to be done methodically.
Never use your bare hands to pick up glass, even large pieces. And never use a regular household vacuum for large glass shards — they can damage the motor and shoot fragments back out.
Safe cleanup sequence:
- Large pieces first: Use thick gloves to pick up and place large fragments into a heavy cardboard box. Do not stack them flat — wrap each piece in newspaper first.
- Medium fragments: Use a stiff broom and dustpan. Sweep toward the center of the drop cloth, then fold the cloth inward to contain fragments.
- Fine particles: Use a damp paper towel or wide tape to dab and lift fine glass particles from the countertop and floor.
- Final pass: Use a shop vacuum (not a regular household vacuum) for any remaining dust and fragments.
- Label the box clearly: Write “BROKEN GLASS” on the outside before disposal.
What to Do with the Old Mirror
If the mirror came off intact:
- Donate it — many thrift stores, habitat for humanity ReStores, and community centers accept mirrors in good condition.
- Sell it on Facebook Marketplace, Craigslist, or similar platforms.
- Repurpose it elsewhere in your home — a basement gym, hallway, or craft room.
If the mirror is broken:
- Wrap pieces securely in newspaper, then place inside a sealed cardboard box.
- Label the box “Glass / Broken Glass.”
- Small amounts can go in regular household trash (check local rules).
- Large quantities should go to a waste disposal facility — most transfer stations accept glass.
Note that mirrors are typically not accepted in curbside recycling bins. The silver coating on the back makes them non-recyclable through standard glass recycling streams.
When Should You Hire a Professional?
DIY mirror removal is manageable for most people, but some situations call for a professional.
Consider hiring a pro if:
- The mirror is larger than 100cm × 80cm or obviously very heavy
- You live alone and have no one to help support the mirror
- The wall behind the mirror is tile, stone, or another material that could be damaged
- You’ve tried multiple times and the adhesive won’t budge
- The mirror has sentimental or monetary value and must come off intact
- You’re not comfortable working with heavy glass
A glazing contractor or handyperson experienced with glass removal can typically handle a standard bathroom mirror in 1–2 hours.
Cost of Professional Mirror Removal
Professional removal costs vary depending on mirror size, adhesive type, and your location. Here’s a general breakdown:
| Service | Estimated Cost (USD) |
|---|---|
| Standard bathroom mirror removal (labor only) | $80 – $200 |
| Large or floor-to-ceiling mirror removal | $150 – $350 |
| Drywall repair after removal | $100 – $300 (depending on damage) |
| Repainting the repaired wall area | $80 – $200 |
| Mirror disposal (if pro disposes) | $30 – $75 additional |
These are rough ranges — actual quotes from local contractors may differ. Getting two or three quotes before committing is always a good idea.
Repairing the Wall After Mirror Removal
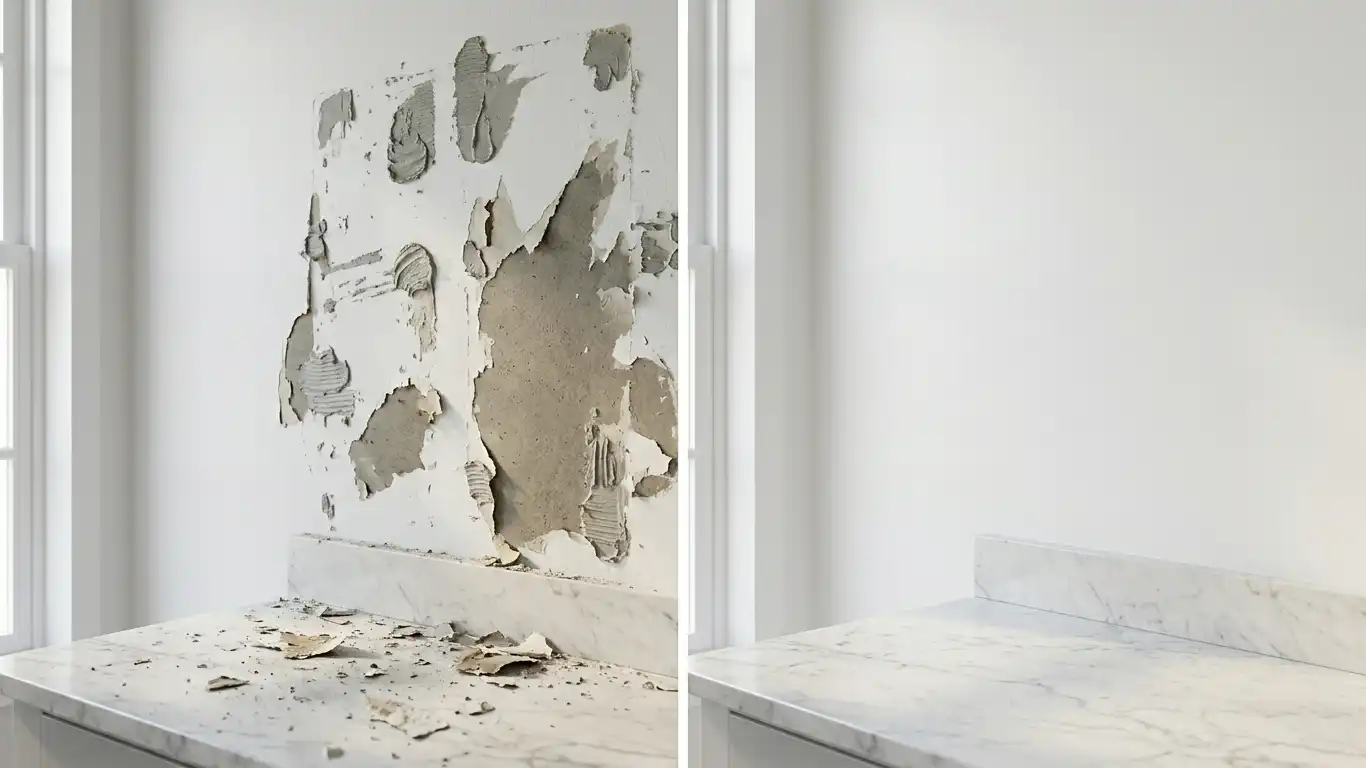
Once the mirror and adhesive are gone, assess the wall damage. Most walls will have some combination of:
- Paint pulled away in patches
- Small holes or divots where adhesive blobs were
- Torn drywall paper (from aggressive removal)
For minor damage (small holes, surface scratches):
- Fill with lightweight spackling compound using a putty knife.
- Let dry fully (check product instructions — usually 2–4 hours).
- Sand smooth with 120-grit sandpaper.
- Apply a coat of primer before repainting.
For larger damage (torn drywall paper, deep gouges):
- Use setting-type joint compound (not lightweight spackling) for deeper fills.
- Apply in thin layers, letting each layer dry before adding the next.
- Feather the edges wide so the repair blends into the surrounding wall.
- Sand, prime, then paint.
If you’re planning to hang a new mirror in the same spot, the wall doesn’t need to be perfect — just flat enough that the new mirror sits flush.
Looking to upgrade to a modern backlit or LED option? See LuckMirror’s range of LED bathroom mirrors and LED wall mirrors — most mount with standard hardware rather than adhesive, making future removal much easier.
Summary
Removing a mirror glued to the wall comes down to three things: protecting yourself, choosing the right method for your adhesive type, and working slowly. Cover the mirror with tape before you touch it, lay down a drop cloth, and never work alone on anything larger than about 60cm wide. The heat-and-pry method handles most situations. Wire saw works better for silicone. Breaking is a last resort when the mirror doesn’t need to survive. After the mirror is down, clean up adhesive residue thoroughly before doing any wall repairs — skipping this step means bumps showing through your new paint. Once the wall is patched and primed, you’re ready for whatever comes next, whether that’s fresh paint, tile, or a new mirror that actually reflects your style.
Frequently Asked Questions
Can I remove a bathroom mirror glued to the wall without damaging the drywall?
Possibly — but some paint damage is almost unavoidable. The adhesive bonds to the painted drywall surface, and separating them cleanly depends heavily on how long the mirror has been up and what type of glue was used. Using the heat method and working slowly gives you the best chance of minimal damage. Having a same-size or larger mirror to install afterward takes the pressure off — minor imperfections behind it won’t matter.
How do I remove a large bathroom mirror that is glued to the wall by myself?
Honestly, don’t. A mirror larger than roughly 60cm × 90cm is too heavy and unwieldy to control safely with one person. You need someone to support the mirror as it loosens — without that, the mirror can suddenly drop or tip when the last section of adhesive releases. Bring a helper, or call a professional. It’s not worth the risk.
What is the best way to remove mirror adhesive from drywall without damaging the surface?
Apply a solvent — WD-40 and Goo Gone both work well — let it soak for a few minutes, then scrape gently with a plastic scraper or putty knife held at a low angle. Avoid metal scrapers on bare drywall paper. For black mirror mastic, re-heating with a heat gun before scraping is often more effective than solvent alone.
How long does it take to remove a glued bathroom mirror?
A standard bathroom mirror (60–90cm wide) typically takes 45–90 minutes using the heat method, including prep and cleanup. Larger mirrors or those with heavy mastic can take 2–3 hours. Wire saw removal tends to be slower than heat-and-pry.
After removing a glued mirror, how do I prepare the wall for a new mirror installation?
Remove all adhesive residue first. Fill any holes or gouges with spackling compound, sand smooth, then prime before painting. If the new mirror is mounted with screws or clips rather than adhesive, make sure to find and mark the studs or use appropriate drywall anchors. For tips on choosing a new mirror that’s easier to hang — and take down again — check out LuckMirror’s LED mirror selection guide for bathroom upgrades.