
A mirror is one of the few pieces of decor that changes a room the moment it goes up. It bounces light around, makes a small space feel bigger, and gives you one last look before you head out the door. The problem is getting it on the wall. Mirrors are heavy, fragile, and completely unforgiving if the hardware fails. A framed print that falls might survive. A mirror won’t. This guide walks you through the whole process in order: where to hang it, how to check your wall, what to buy, how to install it step by step, what to do if you can’t drill, and how to handle mirrors with built-in lighting.
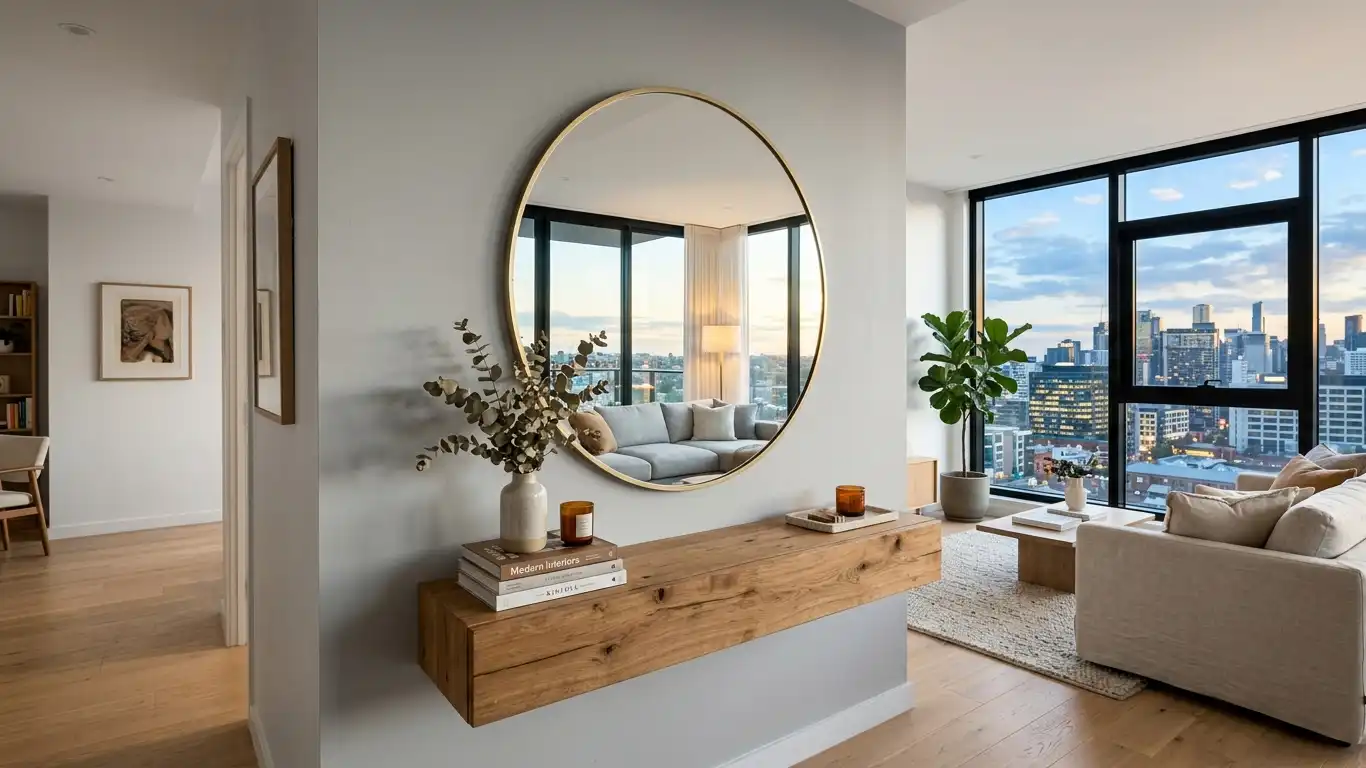
Step 1: Pick the Right Spot and Height
Before you touch a drill, decide exactly where the mirror will live. A few placement rules make the difference between a mirror that works and one that just hangs there.
- Think about what it reflects. A mirror across from a window doubles the daylight in a room. A mirror facing a blank wall or a cluttered corner doubles that instead.
- Avoid glare. Don’t position it where it will bounce light directly from ceiling fixtures into people’s eyes.
- Use the eye-level rule. For a mirror on an open wall, the center should sit around 57 inches from the floor. That’s average eye level, and it’s the same standard galleries use for art.
- Leave a gap above furniture. When hanging over a console, sofa, or vanity, keep 6 to 8 inches between the furniture and the bottom of the frame.
- Stay away from trouble. Skip spots near in-wall wiring or plumbing, and avoid hanging heavy mirrors directly above beds or seating unless the hardware goes into a stud.
Bathroom mirrors follow slightly different rules because sink and vanity heights vary. If that’s your project, our guide to bathroom mirror height covers the exact measurements, and the bathroom mirror size guide helps you match the mirror width to your vanity.
A simple trick before committing: cut a piece of kraft paper to the size of your mirror and tape it to the wall. Live with it for a day. Moving paper is free. Patching holes is not.
Step 2: Check Your Wall Type and Mirror Weight
These two facts decide everything else: the hardware, the method, and whether you need a helper.
Identify the wall. Push a thumbtack into an inconspicuous spot. If it slides in easily, you have drywall. If it resists, you’re likely dealing with plaster. Brick and concrete are obvious on sight and need masonry anchors plus a hammer drill.
Weigh the mirror. Check the product label or listing first. If there’s no spec, stand on a bathroom scale holding the mirror, then subtract your own weight. As a rough reference:
| Mirror size (framed) | Approximate weight |
|---|---|
| 24 × 36 in, wood frame | 15–20 lbs |
| 24 × 60 in, wood frame | ~24 lbs |
| 30 × 40 in, metal frame | 25–35 lbs |
| 72 × 48 in, large framed | 60 lbs or more |
Weight references based on the TaskRabbit mirror hanging guide (taskrabbit.com/blog/how-to-hang-mirror-on-wall).
The 35-pound rule. Once a mirror passes roughly 35 pounds, plan to anchor it into a wall stud rather than relying on drywall anchors alone. Use a stud finder to locate framing, and note that studs near switches, outlets, or faucets often carry wiring or pipes. Scan before you drill.
Step 3: Gather Tools and Materials
Nothing derails a mirror install like discovering mid-job that you don’t own a level. Here’s the full kit.
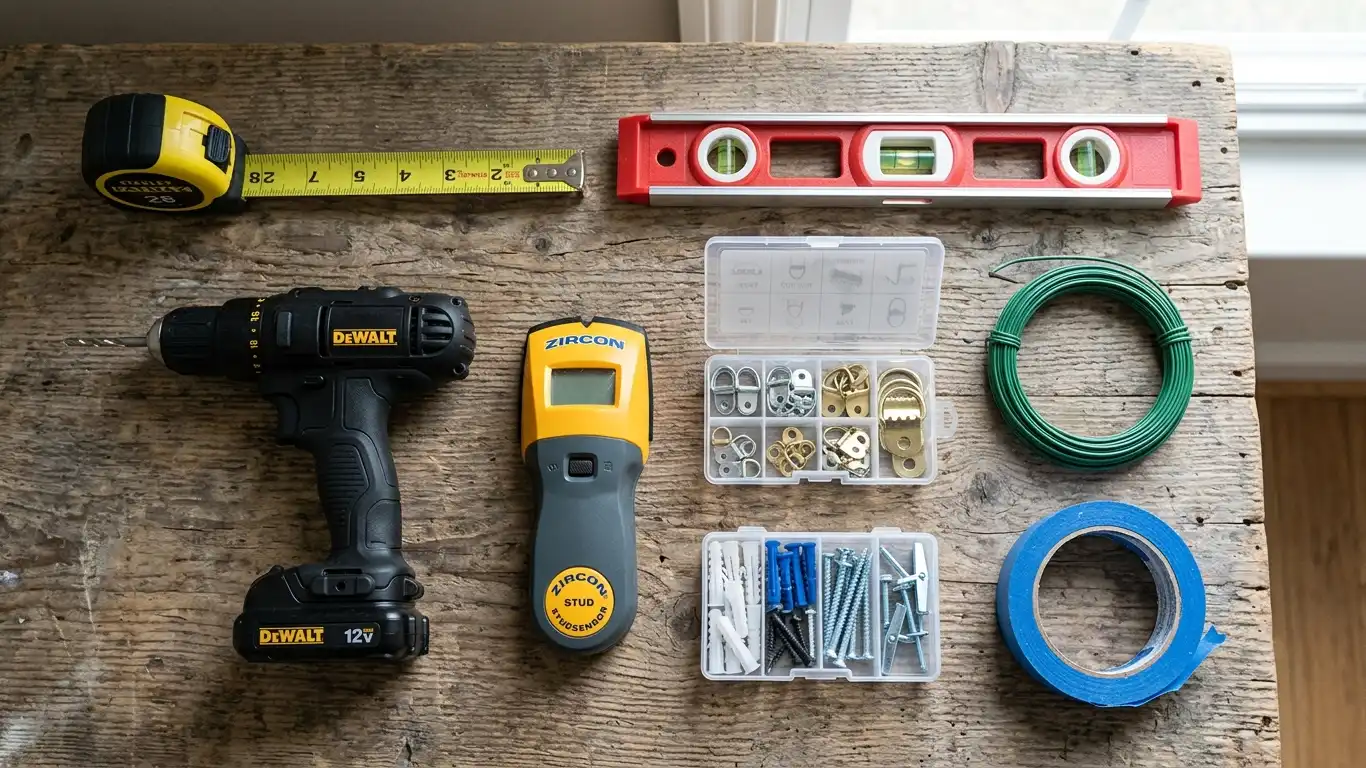
Basic tools:
- Tape measure and pencil
- Level (or a phone level app in a pinch)
- Stud finder / wire detector
- Drill with bits matched to your wall type
- Screwdriver
- Painter’s tape
Hardware, depending on your method:
- D-rings and rated picture hooks
- Picture-hanging wire (check the gauge rating)
- French cleat kit for heavy mirrors
- Mirror clips for frameless glass
- Drywall anchors, toggle bolts, or masonry anchors
For no-drill installs:
- Mirror-specific construction adhesive and a caulking gun
- Heavy-duty adhesive strips (Command strips or similar)
One rule applies to everything on this list: the rated capacity of the hardware should exceed the weight of your mirror. If the package says 20 pounds and your mirror weighs 20 pounds, buy the next size up.
Step 4: Measure, Mark, and Install
This is the standard method for a framed mirror with D-rings or wire on the back. It takes two people for anything heavy.
- Mark the top edge. Hold the mirror where you want it (or use your paper template) and make a light pencil mark at the top center. Draw a short level line through it.
- Measure the hardware position. For D-rings, measure the distance from the top of the frame down to each ring, and the distance between the two rings. For wire, have a helper pull the wire taut as if it were hanging, then measure from the taut point up to the top of the frame.
- Transfer to the wall. Measure down from your top-edge line by the hardware distance, then mark left and right for each mounting point. Check both marks with the level. Uneven hooks are the number one cause of a permanently crooked mirror.
- Drill and anchor. Drill pilot holes at your marks. If you hit a stud, drive screws directly in. If not, insert anchors rated for the weight, then install the hooks or screws.
- Hang and verify. Lift the mirror with a helper, seat the rings or wire on the hooks, and check level one more time. Give the frame a gentle tug. It should feel planted, not springy.
For very heavy mirrors, swap the hooks for a French cleat: one interlocking rail on the wall, one on the frame. It spreads the load across multiple fasteners and holds the mirror flat against the wall.
Alternative: Mounting Without Drilling
Renters, tile walls, and lightweight mirrors sometimes call for a no-drill approach. It works, with limits.
Adhesive strips handle small, light mirrors. Stick the strips to the back of the frame, press the mirror to the wall for 30 to 60 seconds, and stay within the weight rating printed on the pack.
Mirror adhesive is the option for frameless glass, especially in bathrooms. The short version: clean and prime the wall, run staggered beads of mirror-specific adhesive down the back (never ordinary construction glue, which can eat through the mirror backing), press the mirror in place, and tape the corners while it cures. Position matters the first time, because adhesive does not allow adjustments. The full process, including surface prep and cure times, is in our step-by-step guide on how to glue a mirror to the wall.
Two honest caveats. Glued mirrors above a certain size still need mechanical support at the bottom edge. And removal later is a real project of its own — see how to remove a mirror glued to the wall before you commit, especially in a rental.
Special Case: LED and Smart Mirrors
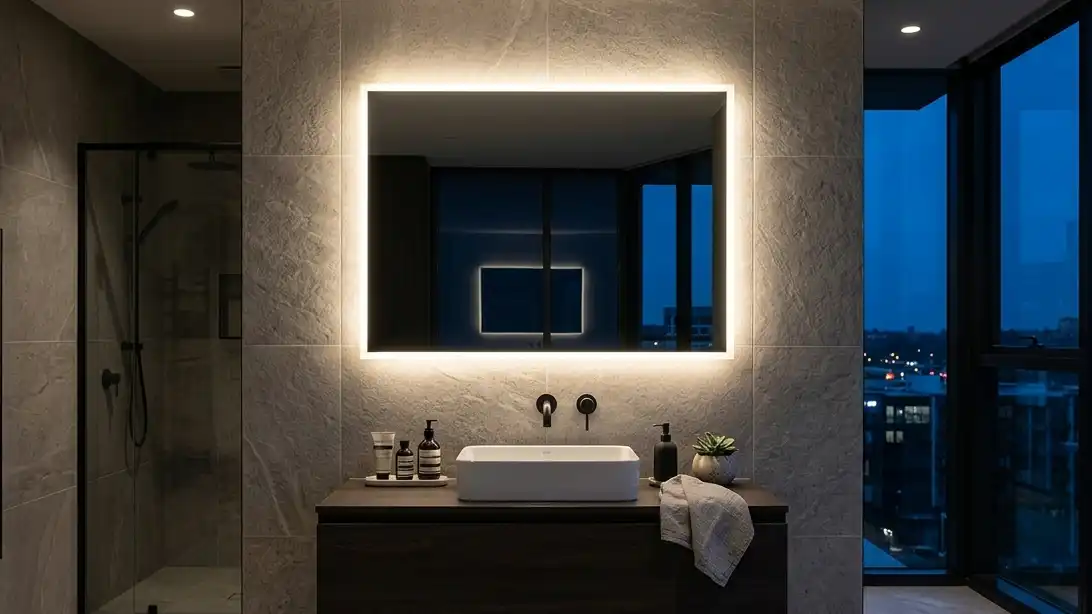
Lighted mirrors add one thing regular mirrors don’t have: a power connection. That changes the job in three ways.
Check the power source first. A hardwired LED bathroom mirror needs a junction box behind or beside it. If there’s no existing circuit in the right spot, running one is electrician territory in most regions, particularly in bathroom wet zones where local codes set strict rules. Plug-in models are simpler, but plan how the cord will reach an outlet without dangling across the wall.
Expect more weight. The driver, LED array, and often a demister pad make lighted mirrors heavier than plain glass of the same size. Most ship with a dedicated mounting bracket or hanging board. Use it, and put at least one fastener into a stud where possible.
Mind the wiring path. Concealed wiring looks cleanest but requires opening the wall. Surface-mounted cable in trunking is the renter-friendly compromise. If you’re retrofitting lights onto an existing mirror instead of buying a lighted one, our DIY guide on adding LED lights to the back of a mirror covers strip placement and power options, and lights over mirrors in bathrooms compares fixture-based alternatives.
After the Install: Check and Maintain
The job isn’t finished when the mirror goes up.
- Same day: confirm the mirror sits level, give it a light shake test, and for adhesive installs, leave the support tape on until the glue fully cures (often 24 hours or more).
- Once a year: check that screws and anchors are still tight and look for hairline cracks or stress marks in the wall around the mounting points.
- If anything loosens: take the mirror down and reinstall with stronger hardware rather than tightening and hoping. A mirror that has shifted once will shift again.
Summary
Mounting a wall mirror comes down to a sequence, not a trick: choose a spot that reflects something worth seeing at roughly eye level, identify your wall type and the mirror’s real weight, buy hardware rated above that weight, then measure and mark before you drill. Framed mirrors over about 35 pounds belong on studs or a French cleat; light mirrors and rentals can use adhesive methods with realistic expectations; lighted mirrors add electrical planning to the checklist. Finish with a level check and an annual once-over, and the mirror will stay exactly where you put it.
FAQs
How high should a wall mirror be mounted?
Center the mirror about 57 inches from the floor on an open wall. Over furniture, leave 6 to 8 inches between the frame and the surface below. Bathroom mirrors are positioned relative to the vanity instead.
Can you hang a heavy mirror on drywall without a stud?
Yes, within limits. Toggle bolts and heavy-duty self-drilling anchors can carry substantial loads in drywall, but always match the anchor’s rated capacity to the mirror’s weight and use at least two mounting points. Past roughly 35 pounds, a stud or French cleat is the safer route.
How do you hang a mirror on a wall without drilling holes?
Use rated adhesive strips for light mirrors, or mirror-specific construction adhesive for frameless glass. Prep the surface, follow the weight limits, and remember that glued mirrors are difficult to reposition or remove later.
Do LED bathroom mirrors need to be wired by an electrician?
Hardwired models usually do, especially in bathroom zones covered by electrical codes. Plug-in LED mirrors can be installed as a normal DIY job as long as an outlet is within safe reach of the cord.
How much weight can mirror mounting hardware hold?
It varies by product, which is why the printed rating matters more than the hardware type. As a general pattern, plastic drywall anchors sit at the low end, toggle bolts and masonry anchors in the middle to high range, and French cleats anchored into studs at the top.